Concrete Driveway Installation in Bellingham WA: What Homeowners Should Expect
Installing a concrete driveway is a major investment that affects both how your home functions and how it looks over time. Homeowners researching
Concrete Driveways in Bellingham WA often want clarity around the installation process, what steps matter most, and how proper preparation impacts long-term performance. This guide explains concrete driveway installation in detail, with a focus on Northwest Washington conditions and proven best practices.
Concrete performs well when installed correctly. In areas with frequent rainfall, damp soil, and seasonal temperature changes, attention to preparation, reinforcement, and curing is critical. A properly installed driveway offers dependable performance, minimal maintenance, and lasting value.
Why Installation Quality Matters in Northwest Washington
Bellingham and surrounding areas experience consistent moisture throughout the year. Without proper installation, water can weaken the base beneath a driveway, contribute to settlement, and lead to premature cracking. Quality installation accounts for these conditions from the start.
Professional driveway installation focuses on:
- Stable support beneath the slab
- Proper drainage away from the driveway
- Reinforcement to manage cracking
- Controlled curing for long-term strength
When these elements are handled correctly, the driveway performs better and requires fewer repairs over time.
Step 1: Site Evaluation and Planning
Every driveway project begins with a detailed site evaluation. This step allows the contractor to assess conditions that influence both design and construction.
During the evaluation, contractors review:
- Driveway size and layout
- Slope and drainage patterns
- Soil conditions and moisture levels
- Access for equipment
- Existing driveway removal needs
This information determines excavation depth, base thickness, reinforcement type, and concrete volume. Careful planning helps prevent delays and unexpected changes during construction.
Step 2: Driveway Layout and Design
Once the site evaluation is complete, the driveway layout is finalized. Design decisions focus on function, appearance, and drainage.
Key considerations include:
- Driveway width and turning space
- Transitions to sidewalks, streets, and garage slabs
- Water runoff direction
- Control joint placement
- Optional decorative features
Thoughtful design helps ensure the driveway is comfortable to use and performs properly over time.
Step 3: Excavation and Site Preparation
Excavation removes soil, grass, and unstable material to create a solid foundation. The depth of excavation depends on slab thickness, base requirements, and soil conditions.
In Northwest Washington, proper excavation is especially important due to moisture retention in the soil. Inadequate excavation can result in uneven settling, surface cracking, or drainage issues.
All excavated material is removed to allow for proper base installation and grading.
Step 4: Installing the Gravel Base
The gravel base is one of the most important components of a concrete driveway. It supports the slab and distributes weight evenly.
A properly installed base includes:
- 4 to 6 inches of compacted gravel
- Clean crushed aggregate
- Layered compaction to prevent movement
- Proper grading for drainage
A strong base significantly improves durability and reduces the likelihood of cracking or settlement.
Step 5: Forming the Driveway
Forms define the driveway’s shape and edges. These are secured in place to maintain consistent thickness and clean lines.
Forming also establishes:
- Finished height of the driveway
- Slope for water runoff
- Edge detailing
- Planned control joint locations
Control joints guide natural cracking into straight, organized lines instead of random surface fractures.
Step 6: Reinforcement Placement
Reinforcement strengthens the concrete slab and improves its ability to handle vehicle loads and soil movement.
Common reinforcement options include:
- Rebar grid systems
- Wire mesh
- Fiber reinforcement mixed into the concrete
Reinforcement does not prevent cracking entirely, but it helps keep cracks tight and prevents separation, which is especially important in moisture-prone soils.
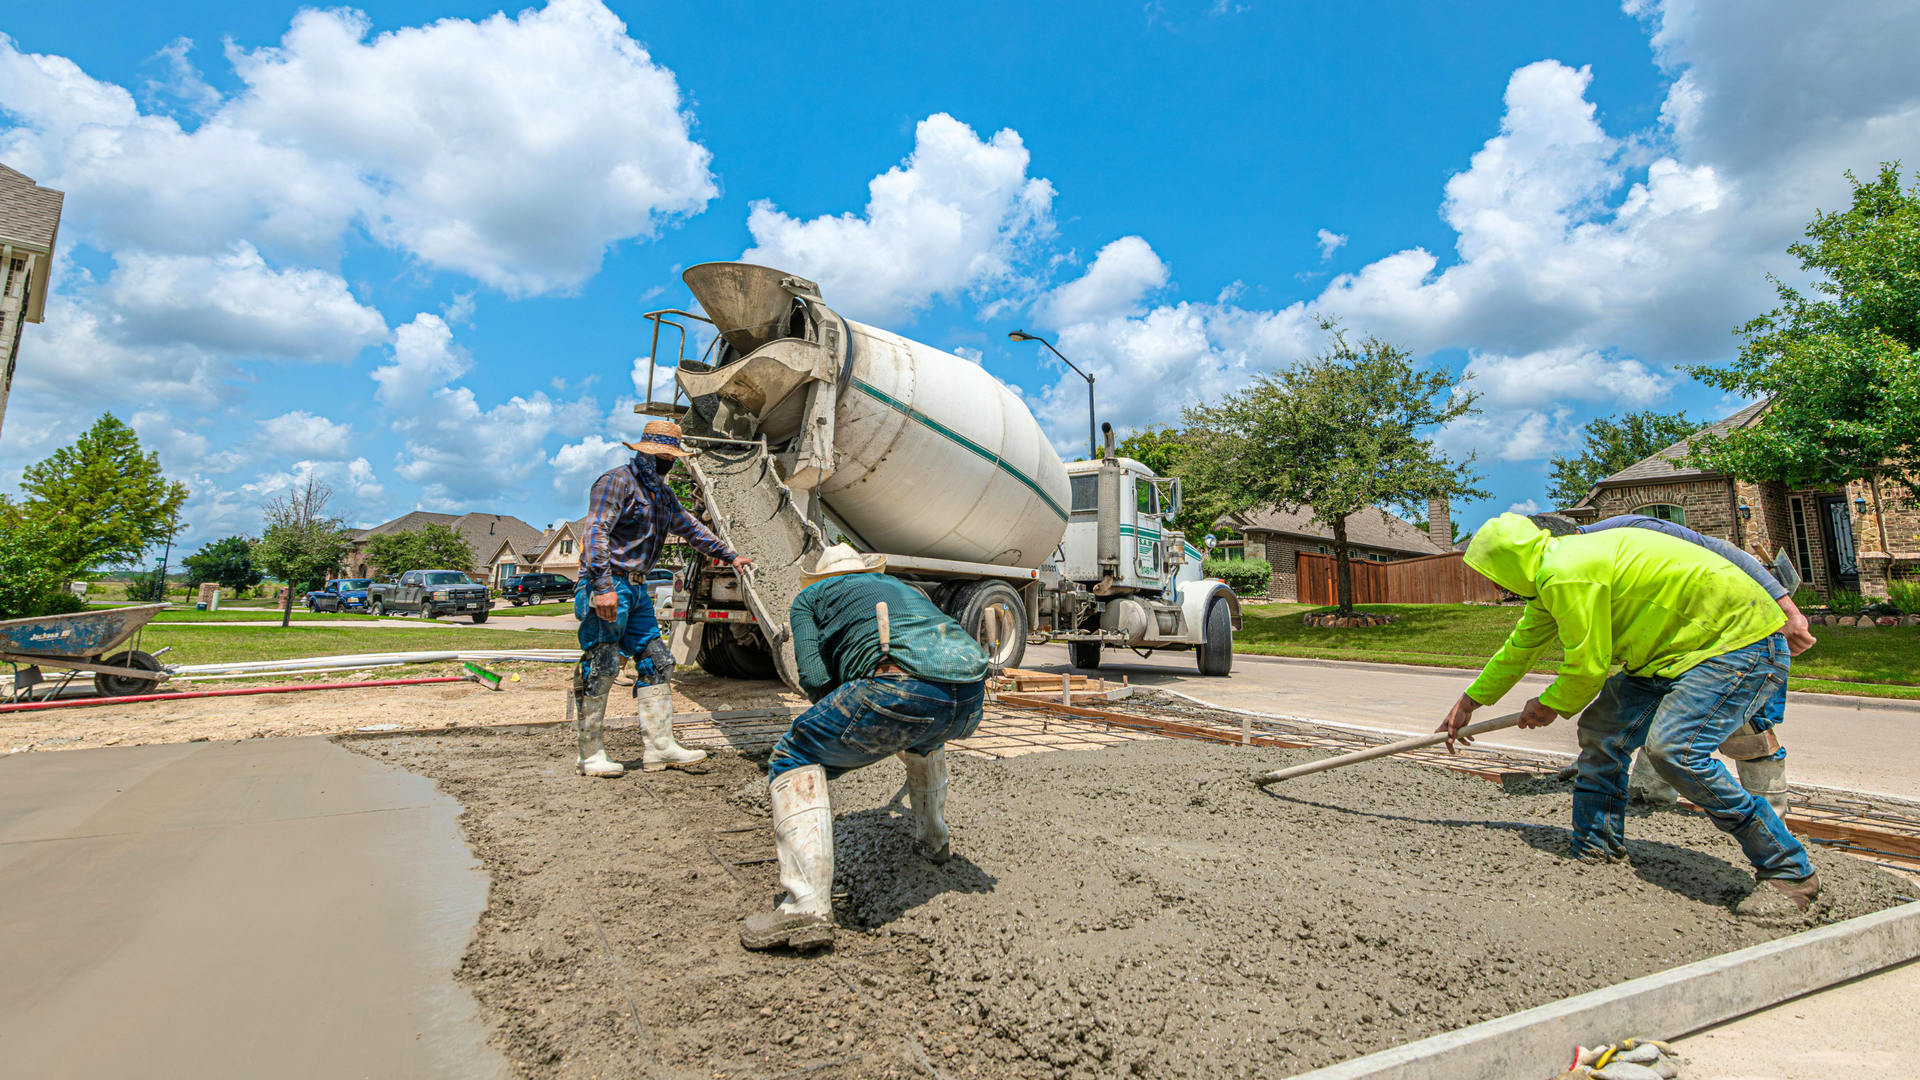
Step 7: Concrete Pouring
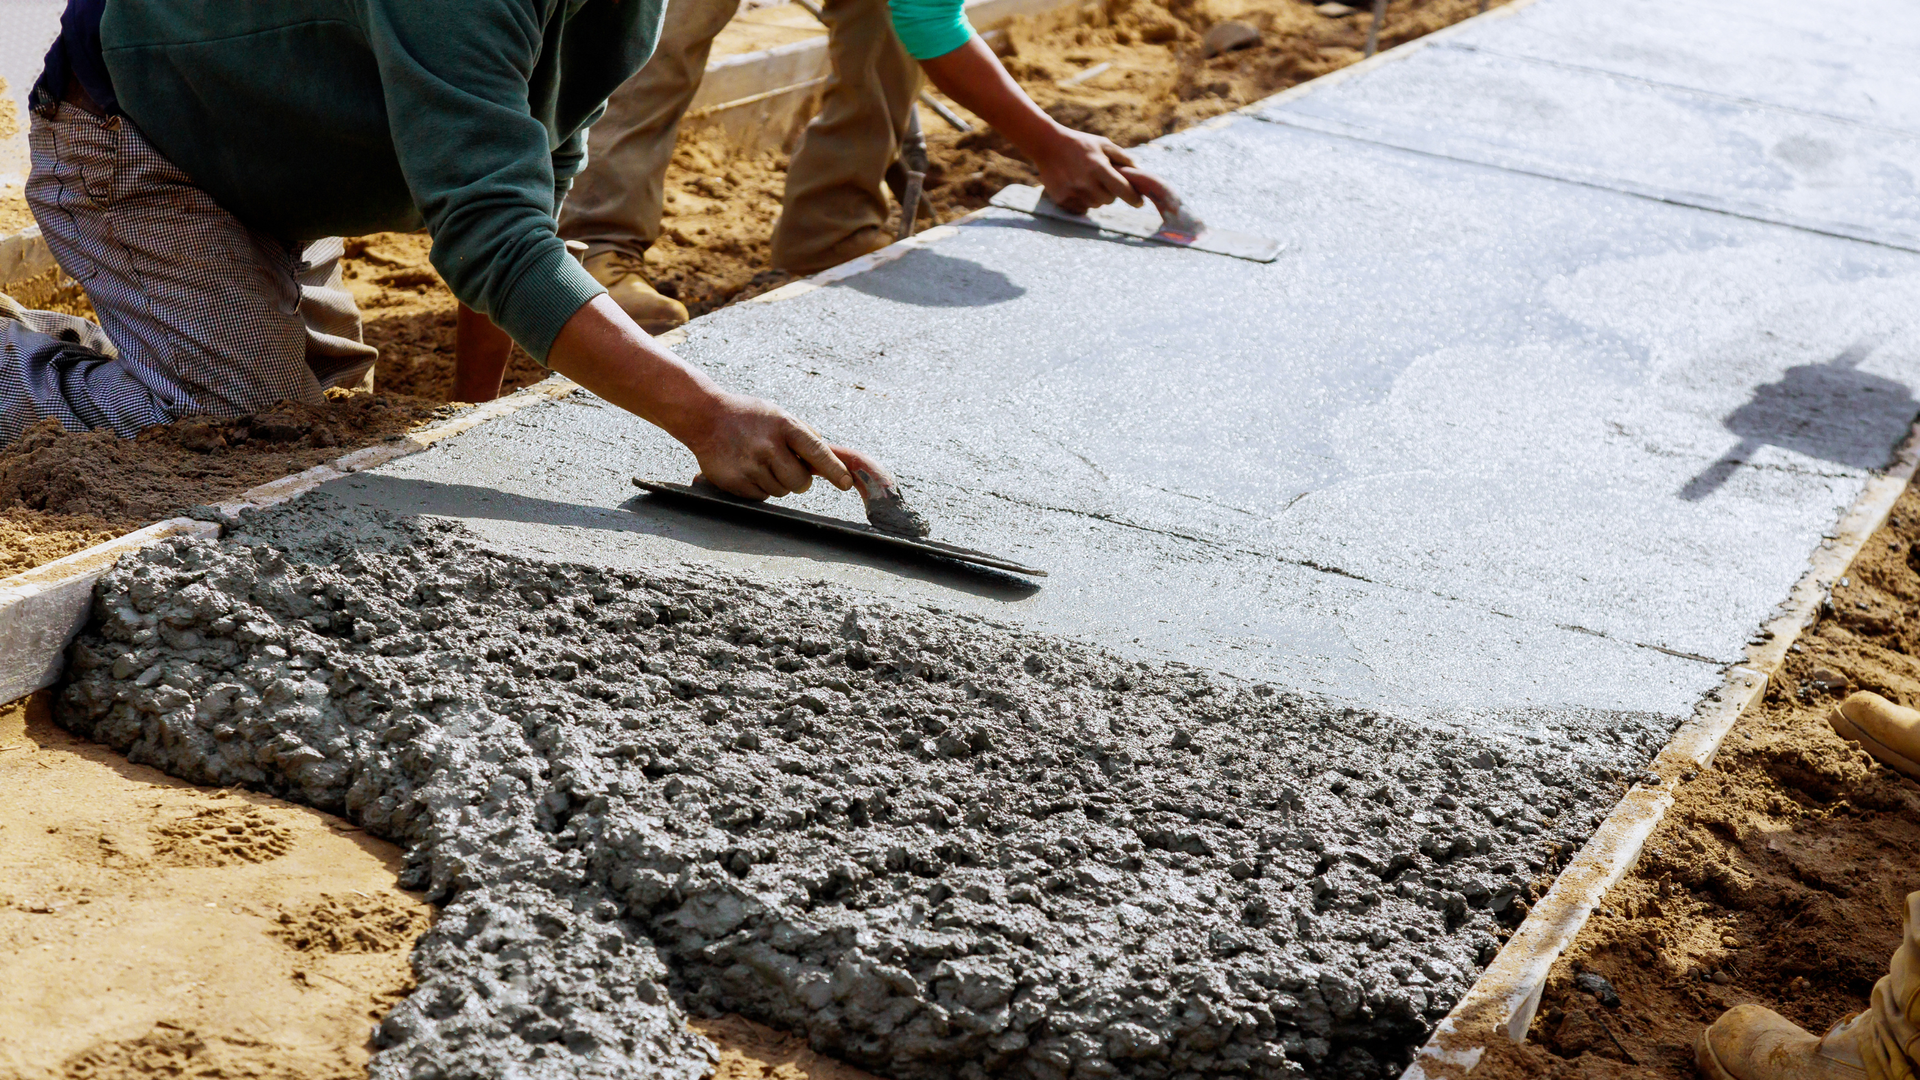
Once preparation is complete, concrete is poured into the forms. This step requires proper timing and experienced crews.
During the pour:
- Concrete is spread evenly
- The surface is leveled
- Edges are finished cleanly
- Initial finishing begins
Weather conditions are monitored closely. Excessive rain, heat, or cold can affect the quality of the pour and curing process.
Step 8: Surface Finishing Options
The finishing stage determines the driveway’s final appearance and traction.
Common finishes include:
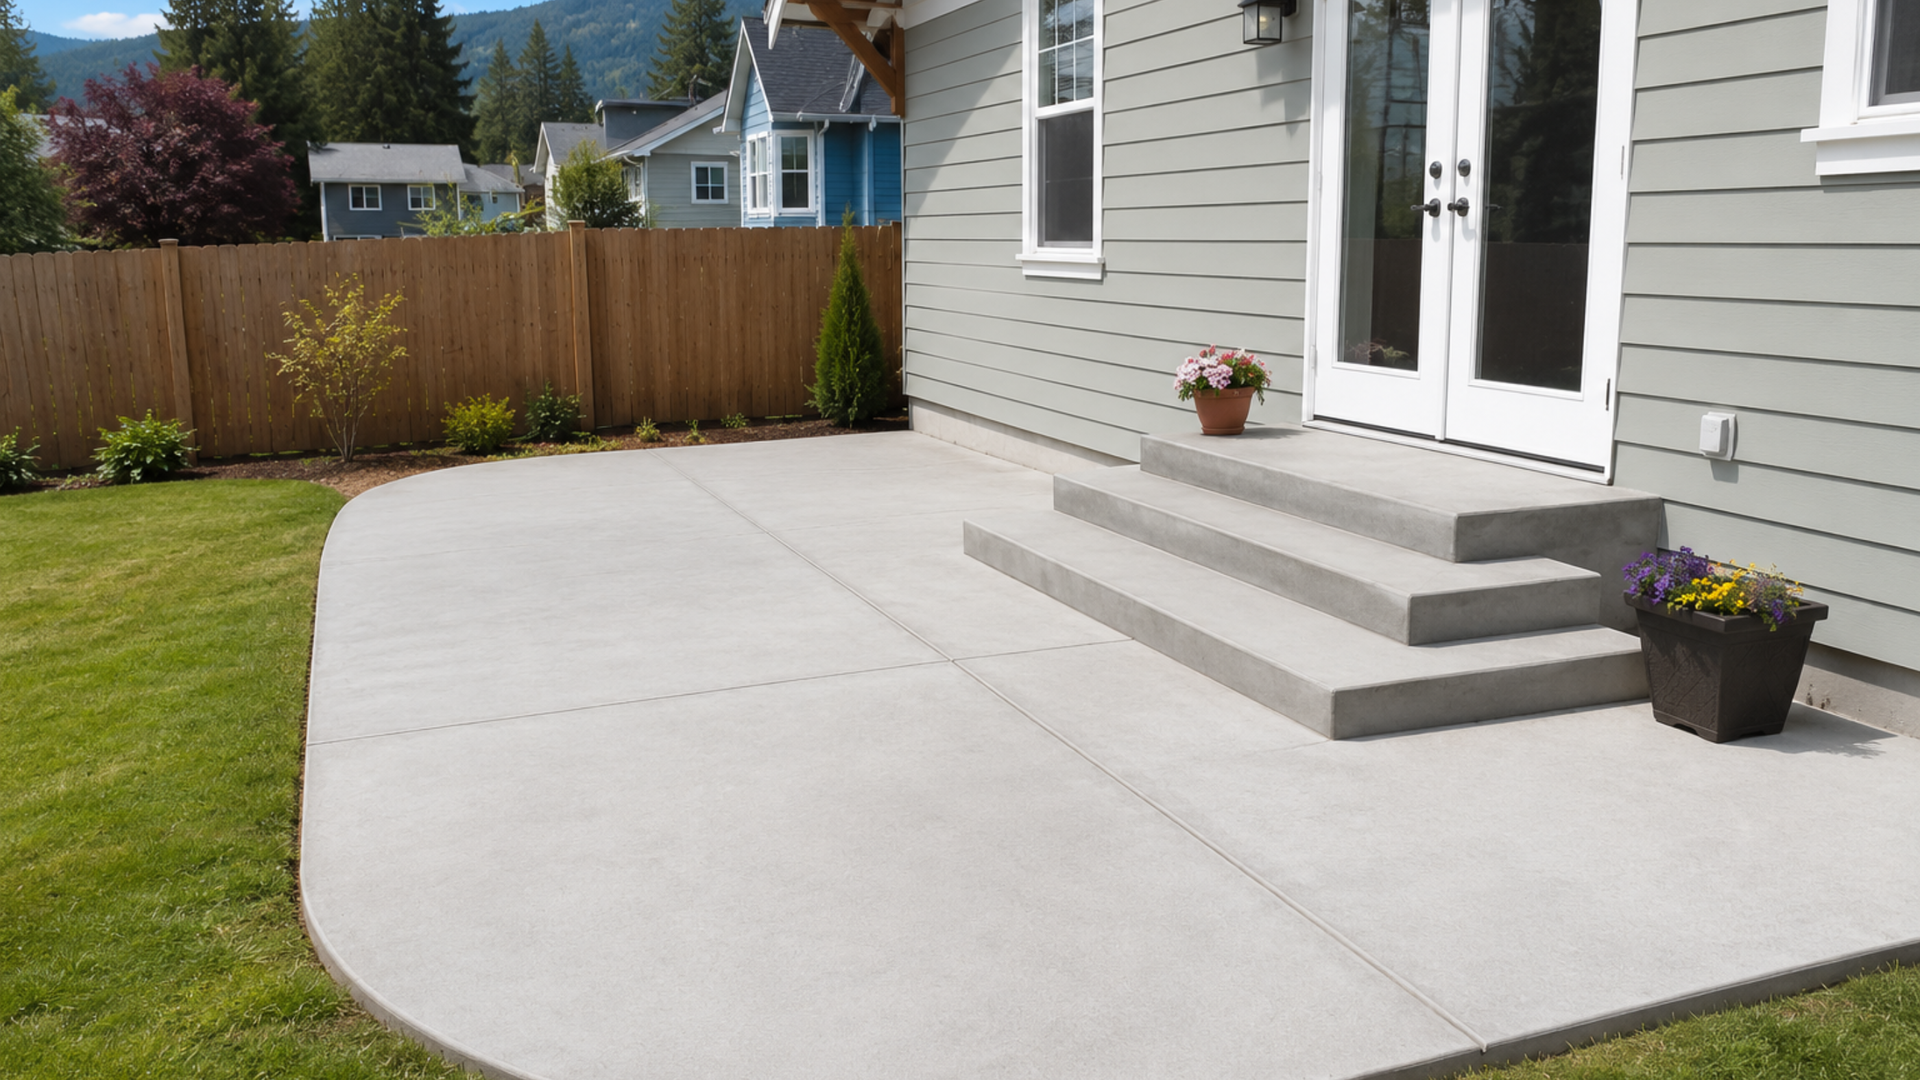
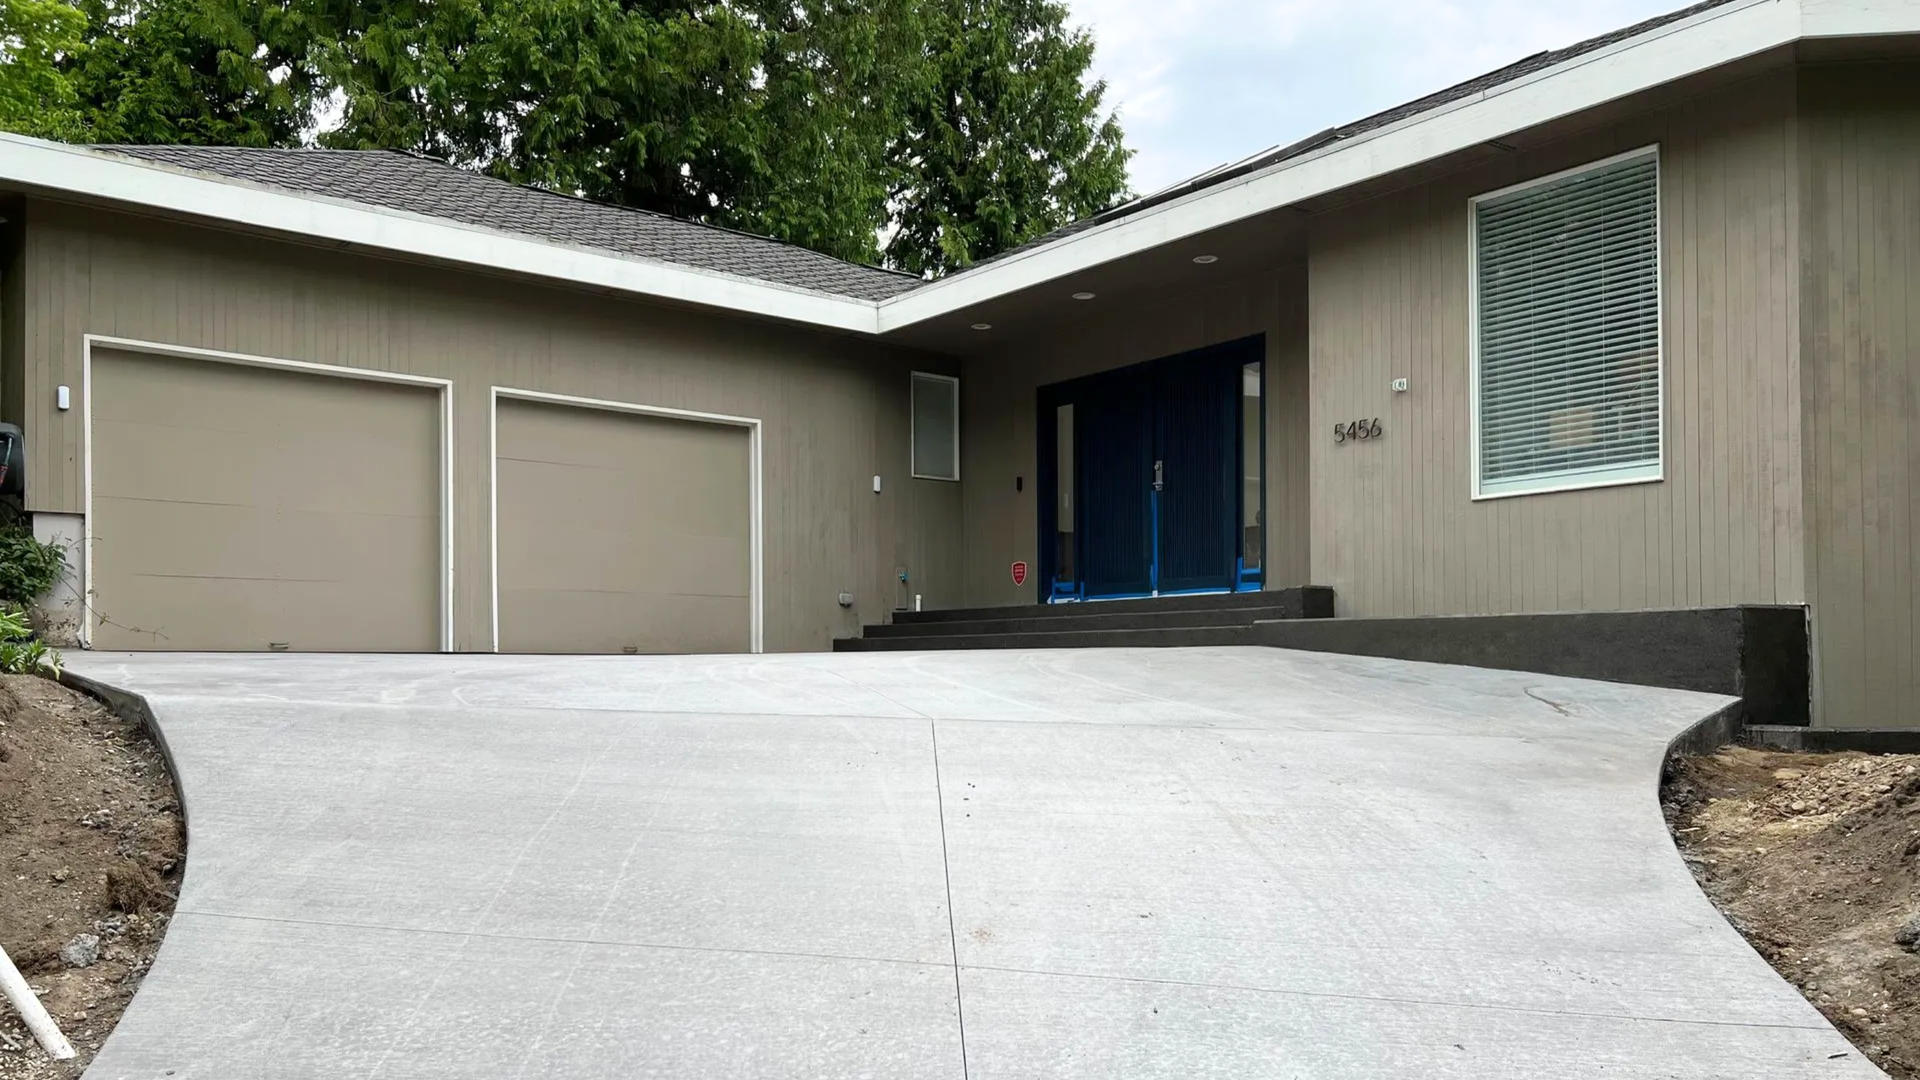
- Broom finish for traction and simplicity
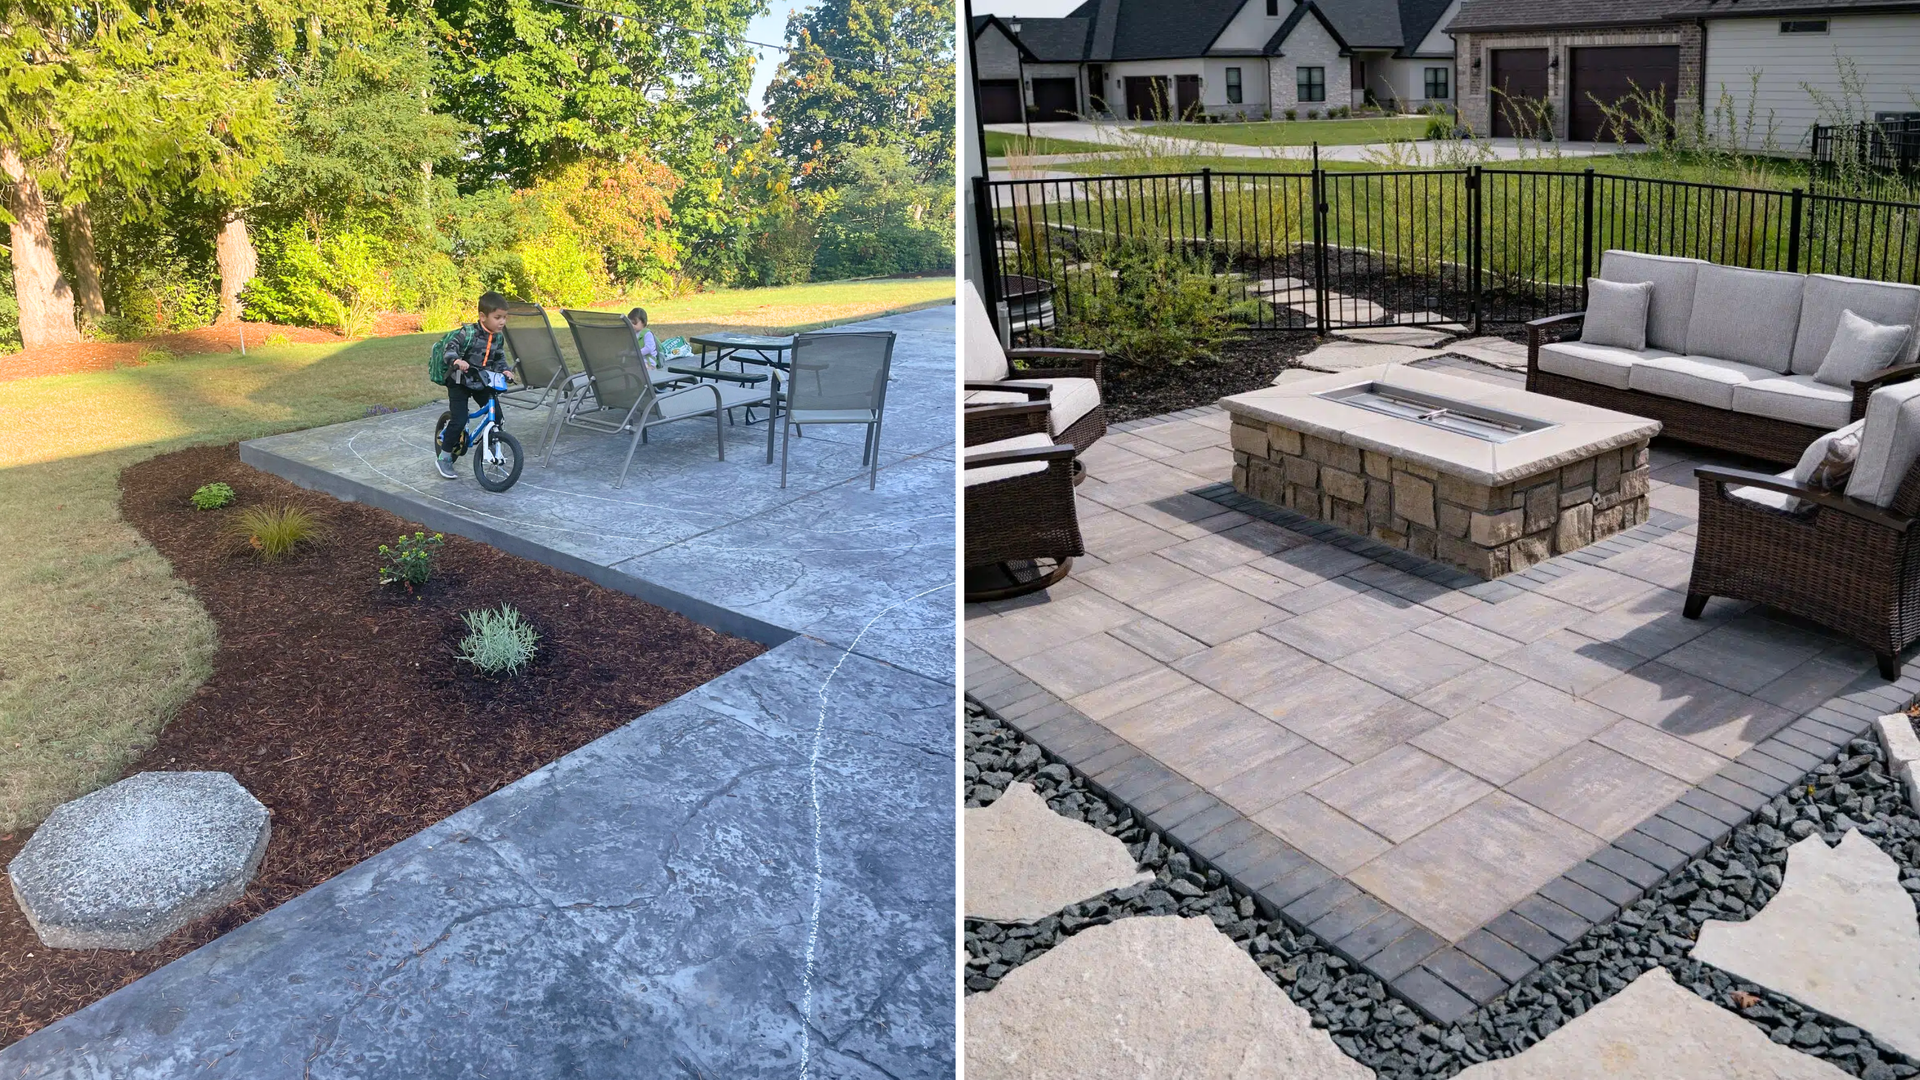
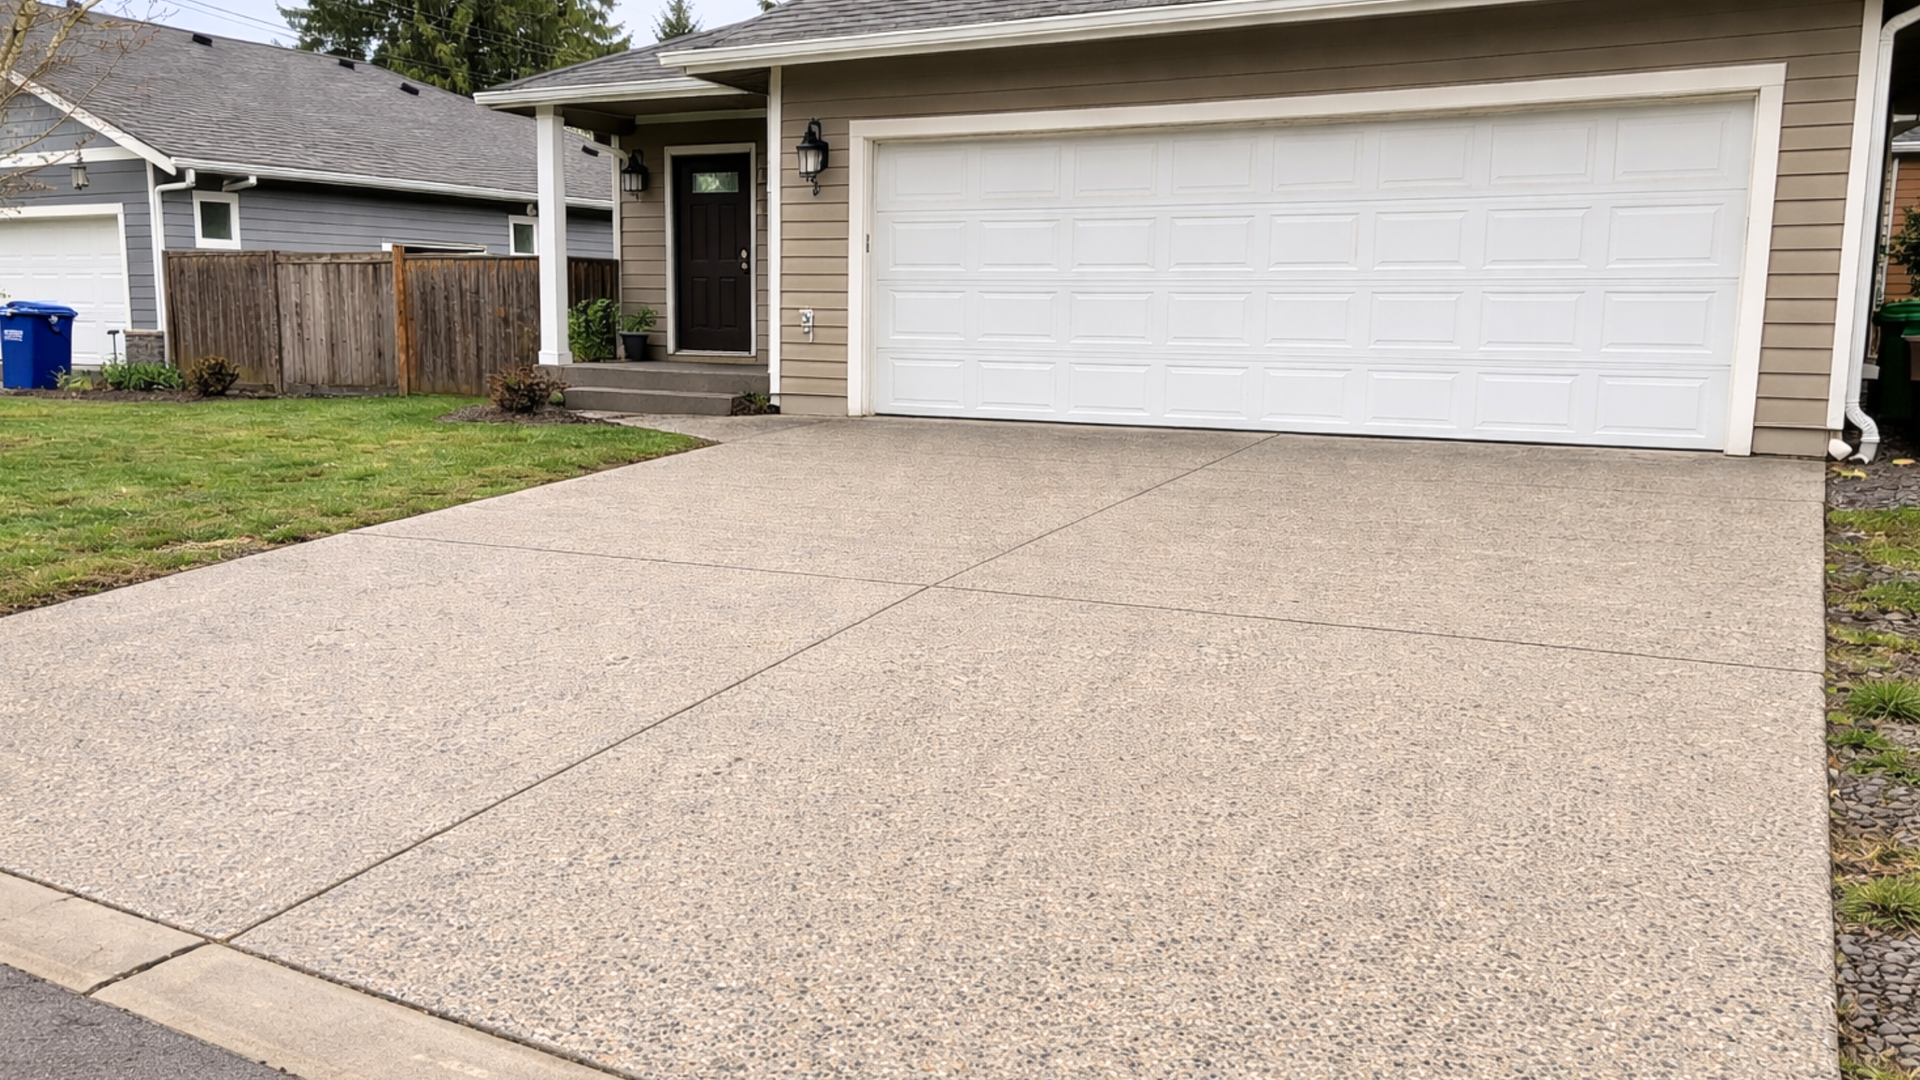
- Exposed aggregate for texture and visual interest
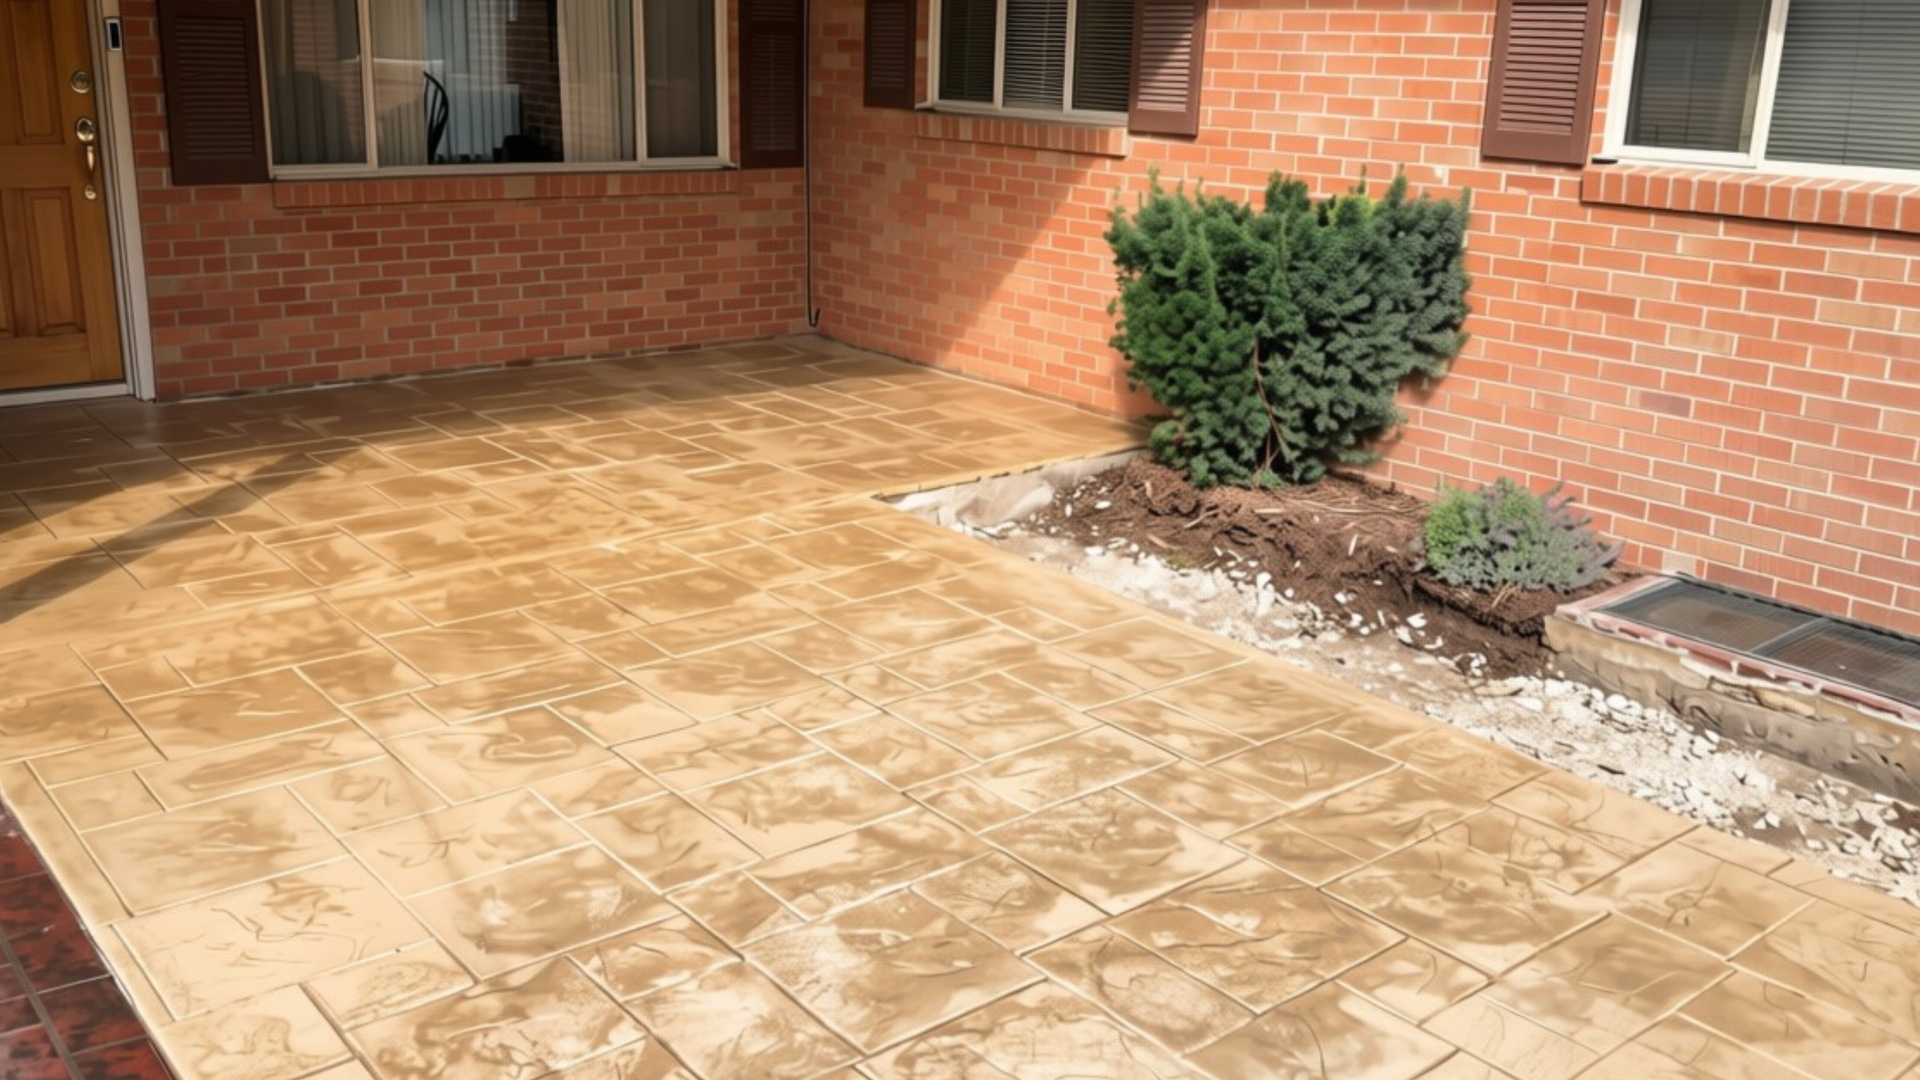
- Stamped concrete for decorative patterns
Finish selection should balance aesthetics, safety, and maintenance preferences. Many homeowners compare options by reviewing stamped and exposed aggregate concrete driveways to understand differences in appearance and performance.
Step 9: Curing the Concrete
Curing allows the concrete to gain strength gradually and is essential for long-term durability.
Best curing practices include:
- Keeping the surface moist
- Protecting it from early foot traffic
- Avoiding vehicle traffic for several days
- Allowing full strength to develop over approximately 28 days
Rushing curing can weaken the surface and increase the risk of cracking.

Typical Timeline for Driveway Installation
While each project is unique, most residential driveway installations follow a general timeline:
- Planning and scheduling: 1–2 weeks
- Excavation and base preparation: 1–2 days
- Forming and reinforcement: 1 day
- Concrete pouring and finishing: 1 day
- Initial curing: 2–3 days
- Full curing: 28 days
Weather and site conditions may affect scheduling.
How Installation Impacts Long-Term Cost
Installation quality has a direct effect on long-term cost. Driveways installed without proper base preparation or reinforcement often require early repairs or replacement.
Homeowners evaluating budgets should also review Concrete Driveway Cost in Bellingham WA to better understand how materials, preparation, and finishes influence overall investment.
Maintenance After Installation
Concrete driveways require minimal maintenance, but simple care helps preserve performance and appearance.
Recommended practices include:
- Cleaning dirt and debris periodically
- Avoiding harsh de-icing products
- Resealing decorative finishes as recommended
- Repairing small cracks early
- Maintaining proper drainage around the driveway
Routine maintenance extends the life of the driveway and helps prevent avoidable repairs.
Repair vs Replacement Considerations
Even well-installed driveways may eventually need attention. Minor surface issues can often be repaired, but replacement may be necessary when:
- Cracking is widespread
- Sections have shifted or settled
- Drainage issues persist
- Multiple repairs already exist
In these situations, concrete driveway replacement provides an opportunity to improve design, drainage, and long-term reliability.
Why Work With a Local Contractor
Local experience matters when it comes to driveway installation. Contractors familiar with Northwest Washington soil conditions and weather patterns understand how moisture affects excavation, base preparation, and curing.
Coast Salish Concrete provides professional concrete driveway installation in Bellingham with a focus on preparation, workmanship, and clear communication. With more than 30 years of combined experience, their team builds driveways designed to perform well in local conditions.
We serve Bellingham, Ferndale, Lynden, Blaine, Fairhaven, Sudden Valley, Custer, Everson, Sumas, Sedro-Woolley, Burlington, and nearby areas.
Final Thoughts
Concrete driveway installation is a process that requires careful planning, skilled execution, and attention to local conditions. Each phase, from excavation through curing, affects how the driveway performs over time. Homeowners who understand the installation process are better equipped to choose the right contractor and avoid costly issues later.
A professionally installed driveway offers dependable performance, strong curb appeal, and long-term value. With proper preparation and experienced installation, concrete remains one of the most reliable driveway options for homes throughout Northwest Washington.